Contents
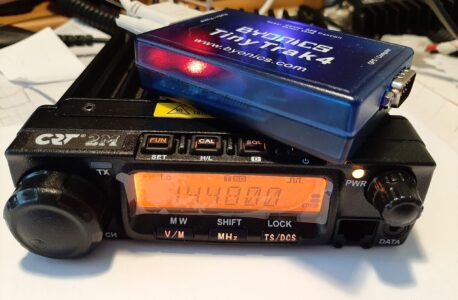
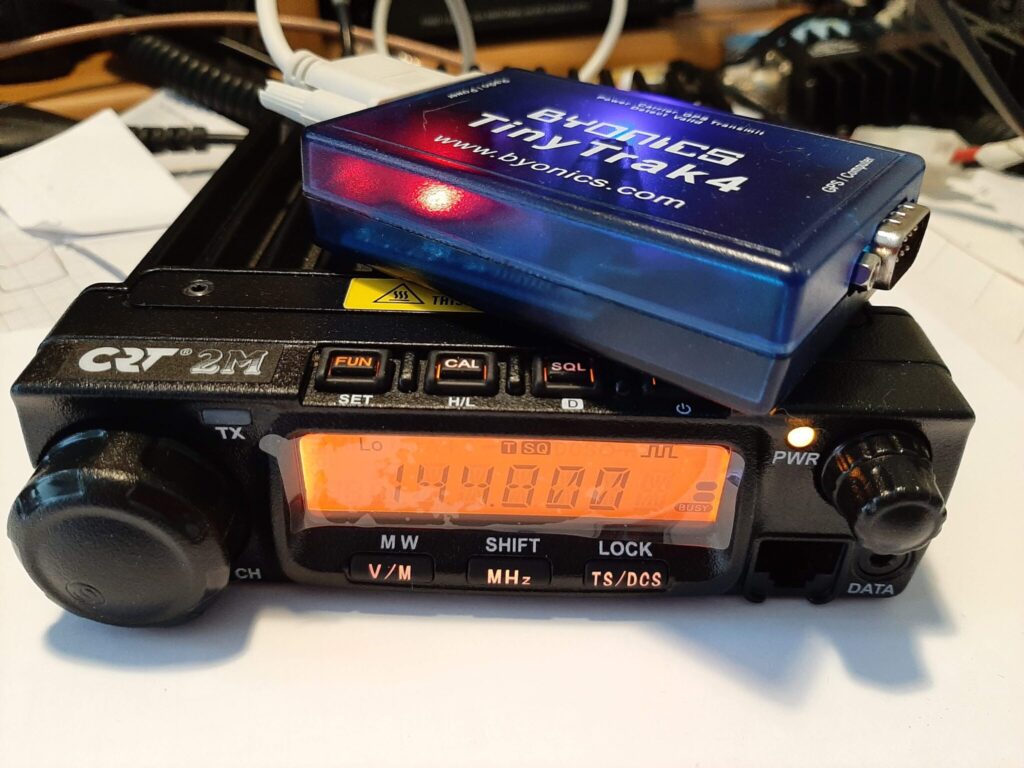
After trying and failing at getting a working APRS set-up with voice alert here is my last try with a CRT 2M Radio, a rebranded Anytone AT588.
Disclaimer
Just the usual stuff here : if by following this article you happen to break, damage something hurt yourself ore some individual it is all under you own liability. We will be dealing with 0603 sized SMD components, make sure you have the proper tools!
Please read the complete article before getting started as performing the modifications has some side effects on the radio’s operation.
Inside the CRT 2M / Anytone AT 588
One radio, different names
The Anytone AT588 is marketed under different brands depending on the region. In France it is sold by a company which have been around for a while: CRT. The radio is labeled CRT 2M. Despite the AT588 looking very similar to the TYT TH-9000D they are both different radios yet the design of the circuitry shows some similarities. The AT588 main board is shared with the Alinco DR138 (latest Alinco radios are all manufactured by Anytone), yet the front panel board has a different layout. I was lucky enough to find a service manual online for the Alinco DR138 and since we will only be working on the main board I am more than happy with that.
Repeater Port
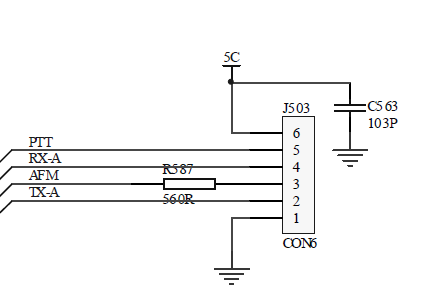
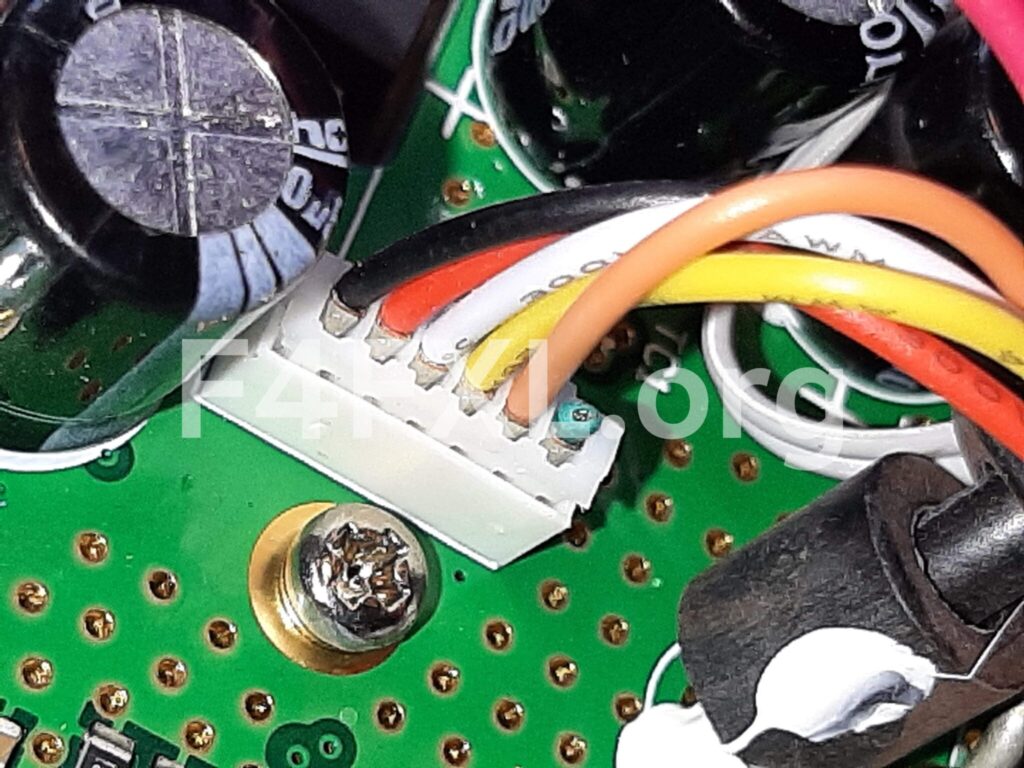
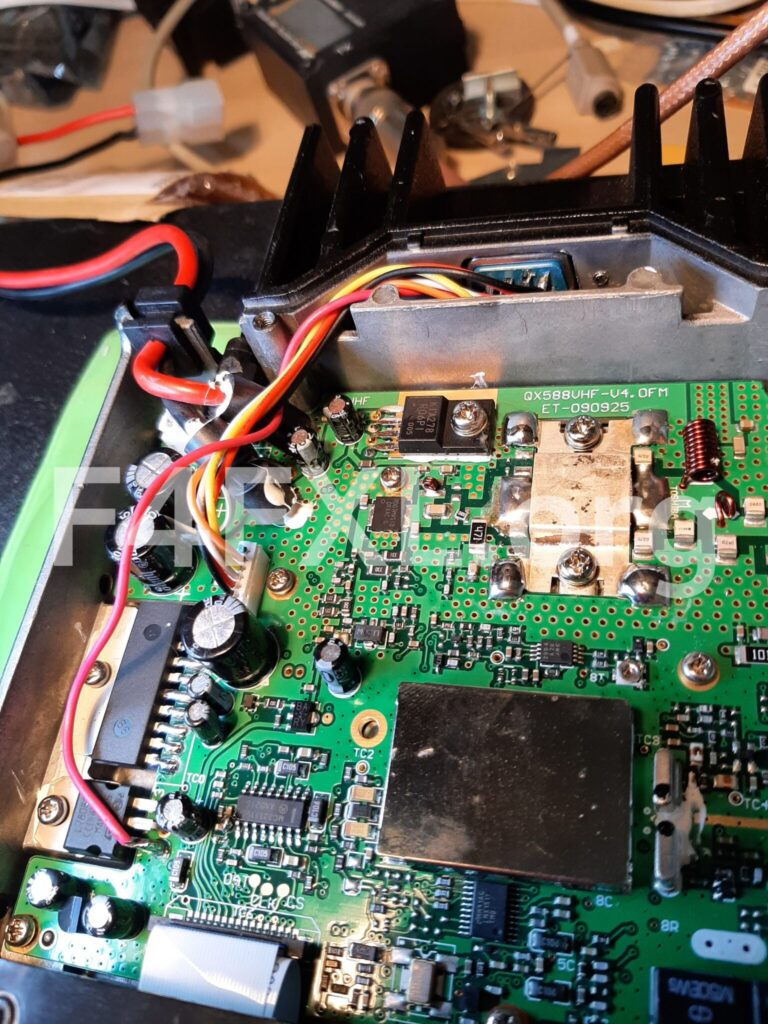
The radio has a 6 pin JST ZH port labeled J503. In the service manual it is allso refereed as repeater port. There is also a machined hole for fitting a SUB-D/DB9 socket at the rear, this is just hidden behind a small glued plastic plate. Since J503 has all the signals we need for APRS (Audio in and out, PTT, Ground) it is all about wiring J503 to a SUB-D/DB9 we will install on the back of the radio.
Modifying the radio
Bringing audio to J503 regardless of CTCSS
Unfortunately when turning on CTCSS for voice alert the audio signals on the repeater port is also muted, if you know about voice alert you know this is not the behavior we want. We need to have audio signals routed to our APRS device and only have the speaker to open when a matching tone is received.
If you do not intend to use voice alert or if you feel uncomfortable with unsoldering SMD parts you can skip this part. Be aware that modifying the radio will cause it to always have audio at a very low volume on the speaker when not using CTCSS. This might be annoying in a low noise environment.
After analyzing the schematics and service manual of the radio I came to the following conclusion:
- CTCSS decoding happens directly in the radios CPU
- When a matching tone is decoded, CPU port P6_3 (PIN40) is switched to high.
- P6_3 is routed to U500 (Audio Compander) pin 12, applying high level to Pin 12 on U500 causes it to mute audio signal
Considering this, what we need to do is make sure pin 12 of U500 is always set to low regardless of what the CPU says. To achieve this we need to remove R511 and add a tiny blob of solder to connect U500 pin12 to ground.
Installing the rear connector
The connector is a 6 pin JST ZH connector 1.5mm pin spacing.
I installed a female DB9 on the back of the radio and routed the wires. The holes near the DB9 hole have M2.5 threading to secure the socket.
Since I am using a Tinytrak 4, I took over the same pin out. Thus, I am able to use a straight DB9 male/male cable to connect the TT4 to the radio.
Additionally I Installed a wire to power the TT4 from the radio. I soldered a red wire to the input of the 8V regulator. This way, the TT4 will turn on as soon as the radio turns on.
| DB9 Pin | Color | CRT 2M | Function |
|---|---|---|---|
| 1 | Red | J503 pin 2 | TX Audio |
| 2 | White | J503 pin 3 | Carrier Detect |
| 3 | Orange | J503 pin 5 | PTT |
| 4 | / | ||
| 5 | Yellow | J503 pin 4 | RX Audio |
| 6 | Black | J503 pin 1 | Ground |
| 7 | Red | 8V Regulator Input | 12V Power supply for TT4 |
| 8 | / | ||
| 9 | / |

Adjusting audio levels
RX Level
- Put the radio in 20kHz channel bandwidth (Menu Item 08)
- Make sure you turn off Receive Compander (F + SQL)
- Inside the radio adjust the small trimmer near J503 to have approx 800mVpp on noise. Use an oscilloscope. If you do not have an oscilloscope, leave the trimmer as is.
- Set the correct CTCSS tone for voice alert in your area
- Connect the TT4 to the radio and to your PC.
- Using a terminal program issue the MONITOR command and adjust RXAMP until you get maximum values of about 125~127 on noise. You should end up with RXAMP around 47.
- Set CDMODE to TONES and CDLEVEL to 10
TX Level
- Install J10 in the Tinytrak 4
- Set TXLevel to 128 and TxTwist to 32
- On the TT4 issue the CALIBRATE command and only transmit High Tone
- Adjust R1 to have approx 2.88kHz deviation on the High Tone. If you do not have any measurement equipment, monitor the signal with another receiver, turn R1 to achieve maximum volume, then turn it down until you hear a noticeable drop in the volume and stop there. This is very critical, improper adjustment will cause your packet to not being decoded by others.
Actually using the radio for APRS operations
At the time of writing this blog post I only used the radio in the shack. It has a very sensitive receiver so far. Yet, like the Retevis RT98 there is a TX tail when enabling CTCSS. I have not measured how long it is, but it seems shorter then the RT98 one so it is quite bearable.
The biggest drawback is that the front microphone is also enabled when transmitting APRS. Yep, every noise you make in your car/shack will be transmitted alongside your APRS frames. As a matter of fact you’ll have to keep the microphone unplugged for APRS operation and plug it in for voice alert…. Not Ideal….
Useful hints and notes
- Pay extra attention no to short any pin while plugging or unplugging the TT4 cable, as this might damage the power on circuitry.
- J503 Pin6 shows 5Volt : DO NOT use this to power anything. It is used as a reference voltage throughout all the radio and cannot deliver any current.
- If you modify the radio for voice alert, pin 3 carrier detect will always be high i.e. act like a carrier is present.
- We use wide mode (25kHz bandwidth) to make sure we can receive people who still think 25kHz is a thing. Yet we adjust our TX levels to fit 12.5kHz channel.
Thanks
Special thanks to Jean Luc F5JFA for providing me with the radio.
